Productivity: Harnessing the Power of the Pomodoro Technique in Your Business

Understanding the Pomodoro Method: The Pomodoro Technique is a time management approach developed by Francesco Cirillo. It involves breaking work into focused intervals, typically 25 minutes long, called “Pomodoros,” followed by short breaks. This method aims to enhance concentration, reduce burnout, and promote efficient task completion. For more information than you need, check out this Wikipedia Article

  1. Implementing the Pomodoro Technique in Your Business:
    • Choose a timer that works for you: There are many free & paid choices. Click Here for a post outlining the features and benefits of various Pomodoro Times.
    • Set Clear Goals: Before embarking on your Pomodoro journey, define clear and specific goals for each work session. This helps maintain focus and ensures that each Pomodoro contributes to your overall business objectives.
    • Plan Your Pomodoros: Create a schedule outlining the tasks to be accomplished during each Pomodoro. Prioritize your tasks based on urgency and importance to maximize productivity.
    • Eliminate Distractions: During your Pomodoros, eliminate potential distractions such as phone notifications, social media, or unnecessary interruptions. Designate a distraction-free zone to optimize focus and concentration
  2. Unleashing the Benefits of the Pomodoro Technique:
    • Time Mastery: By embracing the Pomodoro Technique, you gain a deeper understanding of your time utilization. It allows you to analyze your work patterns, identify time-wasting activities, and optimize your productivity.
    • Increased Productivity: The structured nature of the Pomodoro Technique promotes a sense of urgency and accountability. The focused work intervals help combat procrastination and encourage task completion, leading to increased productivity in your business.
    • Improved Focus and Mental Agility: Regular breaks between Pomodoros serve as mental rejuvenation periods. Engaging in brief physical activities or relaxation exercises during these breaks can revitalize your mind, improving focus and mental agility.

In the world of business, mastering time management is paramount. The Pomodoro Technique offers a powerful approach to time management enabling you to maximize productivity and accomplish tasks efficiently. By implementing the Pomodoro Technique in your business you will unlock your true potential, increase productivity, and achieve remarkable results. Whenever you find your procrastinating embrace the Pomodoro Technique. Simply pick a task, start the timer and get something done!

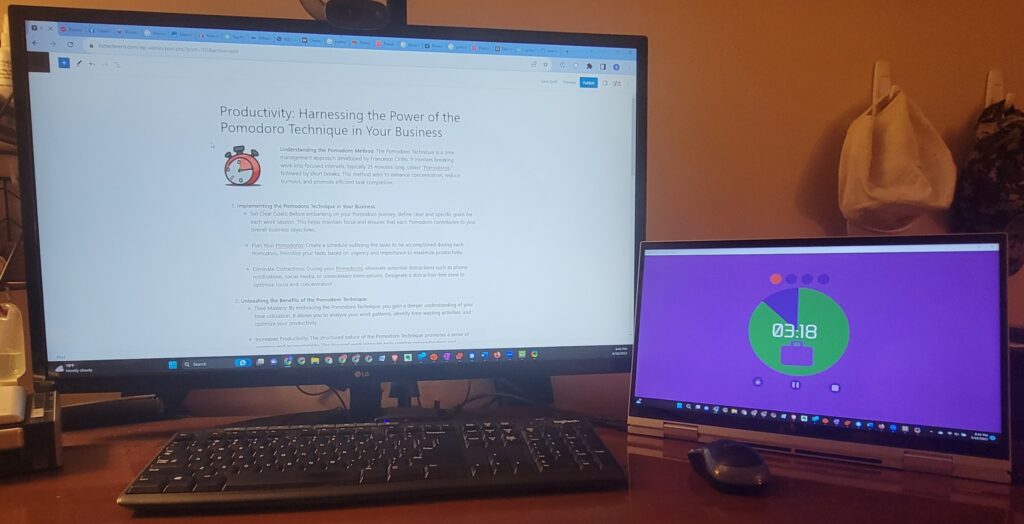
In fact, here is a picture of my set up, using the PowerPom app to write this very article!

The Best Pomodoro Timers for Entrepreneurs

For entrepreneurs, productivity and focus are the keys to accomplishing tasks and driving success. In the quest for efficient time management the Pomodoro Technique has proven to be a valuable tool. By breaking work into manageable intervals this method increases productivity. In this article, we will explore a curated list of the best Pomodoro timers (free and paid) tailored specifically to entrepreneurs. These timers will empower you to stay focused, end procrastination, and achieve your business goals.

1. Tomato Timer (Free):

Tomato Timer is a simple and effective online Pomodoro timer. It allows you to customize work and break intervals, ensuring a personalized productivity experience. With its intuitive interface and audible alerts, Tomato Timer helps you stay on track and accomplish tasks without distractions.

2. Focus To-Do (Free and Paid):

Focus To-Do is an all-in-one app that combines Pomodoro timers with task management features. This app enables you to create task lists, set reminders, and synchronize your progress across multiple devices. The free version offers essential functionality, while the paid version unlocks advanced features such as data export and cloud synchronization.

3. PowerPom (Free):

PowerPom is an innovative Pomodoro timer specifically tailored for entrepreneurs. This free time is extremely simple and easy to use Microsoft app that you can simply pin to your taskbar so it’s ready to use with one click. With PowerPom, you can harness the power of the Pomodoro Technique and maintain a laser-like focus on your business tasks.

4. Marinara Timer (Free):

Marinara Timer is a web-based Pomodoro timer designed to improve your focus and productivity. It offers various presets for work and break intervals, allowing customization to align with your preferences. With its clean interface and optional sound notifications, Marinara Timer provides a seamless experience for small business owners looking to enhance their productivity.

5. Pomotodo (Free and Paid):

Pomotodo is a versatile app that integrates Pomodoro timers, task management, and to-do lists. It allows you to schedule tasks, set deadlines, and receive reminders. Pomotodo’s seamless synchronization across devices ensures that you can access your tasks and timers from anywhere. The free version offers basic functionality, while the paid version provides advanced features such as data analysis and habit tracking

As an entrepreneur, optimizing productivity and focus is essential for achieving your goals. Use the Pomodoro Technique to maximize productivity as you approach your approach to work. These timers will help you stay on track, avoid procrastination, and maximize your productivity. Even if you have to simply use the timer app on your phone, use the Pomodoro Technique and start unlocking your full potential as a productive business owner.

Inbox Mastery: Using “Multiple Stars” to Reach Inbox Zero

This is a simple how-to post, showing you how to setup and use the Multiple Stars feature in Gmail or G Suite to get you a little closer to Inbox Zero

Steps to activate the various stars & icons in Gmail, follow these steps:

  1. Open your Gmail inbox in your computer’s browser
  2. Click on the gear icon in the top right corner
  3. Click on “See all settings.”
  4. Click on the “General” tab
  5. Scroll down until you see the “Stars” section
  6. Click and drag the stars & icons that you want to use from “Not in use” ➡️ “In use” section
  7. Click “Save Changes” on the bottom of the page.

Now, when you star an email in Gmail, you’ll be able to choose from the different stars & icons simply by clicking on the star repeatedly. They will cycle through as you click on them. By using the different stars & icons for different types of emails, there’s a whole new world of organization possible.

You can use the following search queries Below in your various filters and automations to make it even easier.

  • has:yellow-star
  • has:red-star
  • has:orange-star
  • has:green-star
  • has:blue-star
  • has:purple-star
  • has:red-bang
  • has:orange-guillemet
  • has:yellow-bang
  • has:green-check
  • has:blue-info
  • has:purple-question

It’s worth noting that the Multiple Stars functionality is only available in the web version of Gmail, not in the mobile app.

Now you can use Gmail or G Suite filters to apply different stars to various emails, and keep non-urgent stuff out of your inbox.

Inbox Mastery: Why Inbox Zero is a Joke.

Stop trying to reach inbox zero. Let’s be real, inbox zero is an unrealistic goal to reach and maintain. While it helps you feel all nice and organized it may not be making you any money. I mean there are a lot of entrepreneurs who are very successful, yet have 10,000 plus unread emails and constantly losing emails.

Stop trying to be a perfectionist, and instead master your inbox. Here are the steps to achieve inbox mastery.

1) Clear out your inbox. – There are two ways to go about that.

You don't need to be at Inbox Zero to achieve Inbox Mastery!

Quick Way to clear your inbox: If you are brave enough, just clean house and go directly to inbox zero. Select all messages and archive them, so you can always find them later if needed. Don’t delete all of them them unless you are sure you never want to see them again, or just don’t care.

Calculated way to clear your inbox: This method is a little more Systematic, and requires you to group emails together with various filters, and then sort from there. The basic idea is to go through your inbox and after your click on an email, choose “filter messages like this” and mass delete, mass archive, create a filter, unsubscribe, or leave in inbox to process later. You should only leave in the inbox items that you need to do something with. NEED to do something with, not SHOULD do something with. Seriously… its been in there three months, just let it go. This calculated way is better because you are able to really get your head around the different types of emails that fill your inbox. This method could take an hour or more, but will make the future Inbox Mastery much easier.

2) Integrate a to-do management software.

Now that you have completed step one, everything left in your inbox is basically a to-do list. If you just archived everything and you are at inbox zero, congrats.. you don’t have anything you need to do 😊. Soon items will start coming in, and you need to have a method to process them.

Who is going to handle the action required from the email? If it’s not you, how are you going to get it to the person on your team who will handle it? How are you going to follow up on how it was handled? If it is you, how are you going to prioritize your work? This is where to-do management software come into play.

Here we need to recommend ToDoist. The free version is enough for most applications, and has great integrations. There are to great ToDoist extensions from Chrome, and here we are going to focus on ToDoist for Gmail. This adds an icon to your Gmail that allows you to convert any email to a Todo on your list, Prioritize it, Link to it, get it out of your inbox, and even assign it to a team member if you are not the person who is going to be handling it.

3) Get your settings right

Send & Archive: Most importantly you need to activate your Send & Archive Function. To activate this feature, go to Settings ➡️ See all settings ➡️ General and turn on the “Send and Archive” setting. Using this when you reply to emails gets them out of your inbox when you reply, which is kinda what we are going for here.

Multiple Stars: Another great way to organize your emails is using multiple stars. To do this, go to Settings ➡️ See all settings ➡️ General ➡️ Stars. You’ll see a range of stars and icons that you can use to differentiate emails when you click on the star icon. Too choose the ones that you like, simply drag the ones you want from “Not in use” to “In use.” Once you’ve enabled multiple stars, you can apply them by clicking on the star icon in Gmail. Clicking on the icon repeatedly will cycle through the different stars you’ve added. Check out our article: Using Multiple Stars to reach Inbox Zero.

Chose your Inbox: Depending on how you check your email (Computer vs Smartphone) you may want to activate something other than the default inbox. To do this, go to Setting ➡️ See all Settings ➡️ Inbox ➡️ Inbox Type. If working mostly from a computer we recommend the Multiple Inbox setting with the Multiple Inboxes set to the right on the regular inbox. You can create up to five secondary inboxes with different search parameters. Remember those stars we set-up in the last step? You can now use a search-query ok “has:green-star” for example… and all your emails with a green star will show up in that secondary inbox.

Here is the real magic when you use multiple inboxes…. You can now use the filters (explained below) and have emails SKIP your inbox, and head directly into your secondary inboxes. Get it? You are mastering your inbox to get closer to inbox zero… AUTOMATICALLY. NOTE: If you set the secondary inboxes to LABEL:UNREAD in the search query, once you look at them, the become READ and disappear from your secondary inbox. Again automatically helping you keep in clean.

3) Make use of the built in filters and automation within Gmail / Gsuite

You inbox is all cleared out. You have a way to Follow up on To-dos, All your settings are set. Now for the hard part, at least for the next week or so. Everytime you get a new email you need to decide where it goes. These are your choices:

  • Send to todoist or other to do list manager. (For you OR a team member to handle)
  • Reply and use the Send and Archive setting to never see it again.
  • Reply and use the snooze feature to follow up, if it is important.
  • Create a filter to send it to on of the multiple inboxes we created earlier
    • Click the three dots on the upper right hand side of the email
    • Click filter messages like these
    • Add any other info to fine tune the filter
    • Click “Create Filter”
    • Click on the actions to take, apply to other conversations if needed then click “Create Filter
  • Unsubscribe. If there is an Unsubscribe link… click it.

The hard part is creating the filters. But remember every time you create a filter, you will have one less type of email in your inbox forever. And that my friends, is a very long time!